


Have you ever wondered how amazing images and patterns are printed on wood? It’s a blend of art and tech that many don’t fully get.
Welcome to the world of wood and plywood printing! If you’re curious about how designs come to life on wood, you’re in the right spot. This guide will be your friend in 2024, covering basics to the latest trends.
Modern digital printing has changed wood decoration, making it possible to achieve stunning results without old methods. Whether you love DIY, own a small business, or just find this interesting, you’ll see how wood can become personalized art.
Printing on wood is special because it mixes the natural warmth of wood with modern tech’s precision. This makes pieces that are not just strong but also beautiful. So, let’s explore what wood and plywood printing looks like today!
Key Takeaways
- Wood printing combines art and technology for stunning results.
- Modern techniques eliminate the need for traditional printing methods.
- DIY enthusiasts can create personalized designs easily.
- Wood printing offers durability and visual appeal.
- This guide covers the latest trends and techniques in 2024.
What is Wood and Plywood Printing?
Wood and plywood printing is a mix of art and tech. It lets you put stunning designs right on wood. This makes unique pieces that catch the eye in any place.
This method uses ink directly on wood in one go. It skips the old ways of painting or using overlays. Instead, special printers put ink exactly where it should be on wood, like boards or furniture.
This way, the print head never touches the wood. It lets for amazing accuracy and prints right to the edges.
Definition of Wood Printing
Wood printing is a digital way to decorate wood with ink. It’s great for detailed designs and bright colors on wood items. It gives a top-notch finish that shows off the wood’s natural beauty and adds custom touches.
Definition of Plywood Printing
Plywood printing is similar to wood printing but for plywood and veneer. It offers the same detail and color vibrancy. It’s perfect for both big projects and personal touches.
The digital method ensures quality stays the same in every print. It’s a solid choice for customizing wooden items.
Advantages of Printing on Wood and Plywood
Wood and plywood printing has many benefits. It makes your projects look great and last long. Plus, it’s good for the planet.
Unique Aesthetic Appeal
The unique aesthetic appeal of wood and plywood printing is a big plus. The wood’s natural grain adds beauty to your designs. Mineral inks bring out the wood’s natural colors, making it stand out.
Durability and Longevity
Another big plus is durability. Prints with inorganic pigments stay bright even in sunlight. They can last for years, perfect for both inside and outside use.
Eco-Friendly Options
Lastly, it’s eco-friendly. Water-based mineral inks are better for the environment. Plus, UV LED inks are recyclable and use less energy. So, wood and plywood printing is both beautiful and sustainable.
| Advantage | Description | Benefits |
|---|---|---|
| Unique Aesthetic Appeal | Natural grain enhances designs | Distinctive and attractive finishes |
| Durability | Lightfast and long-lasting prints | Resistant to fading and wear |
| Eco-Friendly | Reduced VOCs and recyclable inks | Sustainable printing process |
Common Techniques for Wood Printing
Wood printing uses many techniques, each giving unique results. Knowing these methods helps you pick the right one for your projects. Here are three popular ones that show how versatile wood printing can be.
Direct Printing
Direct printing is the latest and most advanced method. It uses special inkjet printers to apply designs directly to wood without touching it. This means no need for plates, rollers, or custom tools, making it very efficient.
This technique is great because it can print right up to the wood’s edges. It also works well on slightly uneven surfaces, letting you get creative with your designs.
Wood Transfer Technique
The wood transfer technique is a DIY-friendly method. You print your design on special transfer paper. Then, you apply it to the wood using gel or heat.
This method is perfect for small projects and adds a vintage charm to your creations.
Laser Engraving
Laser engraving is not a printing method but is often talked about in wood printing. It burns the design into the wood, making it permanent and touchable.
Laser engraving is great for detailed designs and personalized items because it offers precision and depth.
| Technique | Method | Best For | Advantages |
|---|---|---|---|
| Direct Printing | Inkjet printing directly on wood | Large projects | Full-color designs, edge-to-edge printing |
| Wood Transfer | Transferring printed design from paper | Small projects | DIY-friendly, vintage aesthetic |
| Laser Engraving | Burning design into wood | Intricate designs | High precision, permanent results |
Each plywood printing technique gives different looks, letting you choose what fits your vision. Whether you like the sharp details of direct printing, the vintage charm of wood transfers, or the depth of laser engraving, there’s a method for every project.
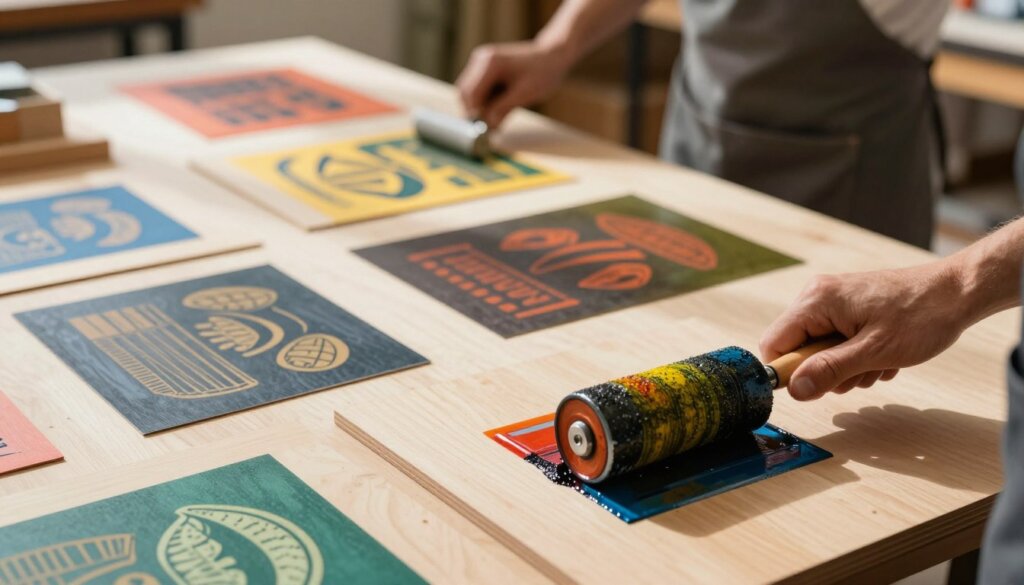
Choosing the Right Type of Wood for Printing
Choosing the right wood for printing is important. Different woods can change how your project looks. Knowing the differences helps get the best results.
Softwoods vs. Hardwoods
Wood types fall into two groups: softwoods and hardwoods. Softwoods, like pine, are cheaper and easy to find. But, their grain and resin can mess with ink, making prints less clear.
Hardwoods, like maple and birch, have a smoother grain. They soak up ink well, leading to sharp images and bright colors. Hardwoods give a clean, polished look.
Popular Wood Types for Printing
Some woods are favorites for printing on wood. Industrial woods like particle board, HDF, and MDF work great with digital printing. MDF is special because it has a super-smooth surface, perfect for photos.
For a rustic feel, try knotty pine or reclaimed wood. They add character to your design. For something modern, birch plywood or primed MDF are great. Choose based on what you want your project to look like.
Surface Preparation for Optimal Results
The secret to amazing wood printing results is in the surface prep. This step is key to making your prints look great and last long. We’ll explore the important steps of sanding, smoothing, cleaning, and priming.
Sanding and Smoothing
Begin by sanding to get a smooth surface. Use a coarse grit sandpaper first to fix big issues. Then, switch to a finer grit for a smooth finish. Skipping this can make your print look rough.
Don’t forget the edges and corners. They often get missed. A well-prepped surface makes your print look better and last longer.
Cleaning and Priming
After sanding, clean the surface well. Use a tack cloth or vacuum to get rid of dust. Any dust left can ruin your print’s look.
For big projects, priming is a must. A white primer makes colors pop and ensures accuracy. Even DIY projects benefit from a good primer. Think of prep as the base of your project—get it right, and everything else works out.
Print Design Considerations
Exploring custom wood printing means understanding its unique design aspects. Wood as a material needs special thought, mainly about color and ink. These factors greatly affect the final look of your print.
Color Choices for Wood Prints
Choosing colors is key to your print’s look. The wood’s natural color affects how your colors show up. Here are some important points:
- Light-Colored Woods: Maple or birch woods make colors stand out more.
- Darker Woods: Walnut or mahogany woods give a rich, sophisticated look.
- Digital Printing Advantages: Digital printing keeps colors consistent, no need for color stock.
- Mineral Inks: These inks offer a wide range of colors, great for detailed designs.
Compatibility of Ink Types
Choosing the right ink is as critical as picking colors. Here’s what you need to know about ink compatibility:
- Mineral Inks: These inks are durable and lightfast, perfect for wood.
- UV LED Inks: They have a wide color range and full coverage, good for many wood types.
- Software Considerations: Use software like Fiery proServer to match your design with the wood and primer.
With careful thought on colors and ink, your custom wood prints will look amazing. The right design not only looks great but also lasts longer.
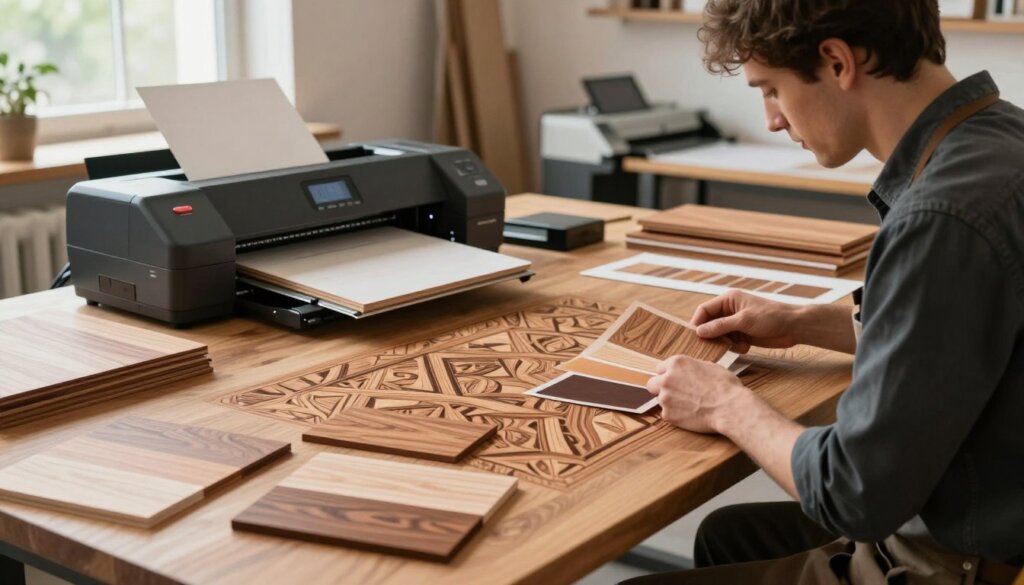
Equipment Needed for Wood Printing
Getting into wood surface printing means you need the right tools for amazing results. The equipment you pick will affect your print quality and how smoothly you work.
For those serious about wood printing, you’ll need specialty printers. These are made for wood and can handle different thicknesses and types.
Specialty Printers
The EFI Cubik is a top choice for digital wood decoration. It comes in sizes of 700, 1400, and 1800 mm, fitting various projects. It can print on wood up to 30 mm thick and prints fast, up to 60 meters per minute.
The EFI Cubik is built for heavy use, working 24/7. It has different ink options, like mineral inks for a natural look and UV LED inks for bright colors. This lets you try out many looks in your wood printing.
Essential Tools and Materials
There are key tools every wood printer needs. These include:
- Sanding tools for getting the surface ready
- Tack cloths for cleaning the wood
- Primers and sealants to make it last longer
- Color management software for true colors
Also, a well-ventilated area is key, mainly if your inks need UV light to dry. The cost of equipment varies, from a few hundred dollars for basic stuff to thousands for big systems. But, the creative options are endless, no matter the budget.
| Equipment | Features | Price Range |
|---|---|---|
| EFI Cubik | Wide format, high speed, various ink options | $20,000 – $100,000 |
| Desktop UV Printer | Compact, good for small pieces | $1,000 – $5,000 |
| Sanding Tools | Key for getting the surface ready | $50 – $300 |
The Process of Printing on Wood
Wood printing is both interesting and simple, with clear steps to follow. To get amazing results, knowing the whole process of wooden panel printing is key. This section will walk you through each step, making sure you’re ready for your project.
Step-by-Step Guide
First, prepare your wood surface. This means sanding, cleaning, and priming if needed. A good surface is vital for the best print quality. Once your surface is ready, set up your design file using software that works with wood’s unique traits.
Next, load the wood into your printer. Systems like the EFI Cubik make this easy with vacuum transport. The printing is non-contact; the print head moves over the wood, depositing ink precisely. This method avoids the need for plates or custom tools, making setup and pattern changes quick.
After printing, cure the piece. This can be done with UV LED lamps or air drying, depending on the ink. Proper curing ensures the print sticks well and lasts longer.
Common Challenges and Solutions
While the process is simple, some challenges can happen. Ink adhesion issues might occur if the surface isn’t prepared well. Make sure to sand and clean the wood properly to avoid this.
Another issue is getting colors right. Use color management software to keep colors consistent. Modern digital systems are easy to use, making professional wood printing available to more people than before.
| Step | Description | Common Issues | Solutions |
|---|---|---|---|
| 1 | Prepare wood surface | Poor adhesion | Sand and clean thoroughly |
| 2 | Set up design file | Design errors | Use compatible software |
| 3 | Load wood into printer | Alignment issues | Check vacuum transport |
| 4 | Print and cure | Color inaccuracies | Implement color management |
Finishing Touches After Printing
After you finish your wood print, sealing it is key. This step keeps your artwork safe from scratches, moisture, and UV damage. Once the ink is dry, you can add varnishes and protective layers to make it last longer and look better.
The right sealant depends on how you plan to use your print. For example, a tabletop needs a stronger finish than a wall hanging. If you want your print to shine, use a high-gloss varnish. For a more natural look, choose a matte finish.
Some finishes also protect against UV rays, which is important for pieces in sunlight. In a professional setting, this step comes right after printing. For DIY projects, spray sealants are easy to use and cover evenly.
Don’t rush this step. A well-done finish not only protects your work but also makes it look professional. It can even make your wood print look like it belongs in a gallery.
Sealing Your Print
Sealing your print is key for its longevity. A good sealant acts as a shield against the environment. Here are some popular sealant options:
| Sealant Type | Finish Type | Best Use |
|---|---|---|
| Polyurethane | Glossy | High-traffic surfaces |
| Acrylic Varnish | Matte | Art prints |
| Spray Sealant | Varies | DIY projects |
Adding Gloss or Matte Finish
Choosing between a glossy or matte finish changes how your print looks. A glossy finish makes colors pop, great for vibrant designs. A matte finish gives a soft, subtle look, perfect for more simple pieces.
The finish you pick should match your project’s vision. Try different finishes to find the one that fits your wood print best.
Where to Buy Printed Wood Products
Ready to make your decor stand out with custom wood printing? There are many places to find these unique items. You can shop online or visit local artisans, depending on what you prefer.
Online Retailers to Consider
Online marketplaces are full of custom wood printing treasures. Here are some top sites:
- Etsy: A go-to for handmade and personalized items, Etsy has a vast selection of custom-printed wooden products.
- Amazon Handmade: This part of Amazon showcases artisans who make unique wood items, including prints.
- Print-on-Demand Services: Sites like Zazzle and Redbubble let you upload designs. Then, they send printed wood products right to your door.
Local Shops and Artisans
For something truly unique, think about supporting local shops and artisans. Many small businesses now offer custom wood printing services. Here’s how to find them:
- Check out local craft fairs and maker markets to find talented creators.
- Use “custom wood printing near me” to find artisans in your area.
- Follow local businesses on social media to see their latest work.
Buying from a local artisan lets you see samples in person and supports small businesses. Whether you prefer online shopping or local craftsmanship, there are plenty of ways to get beautiful printed wood products.
DIY Wood Printing Projects for Beginners
If you’re new to wood printing, there are simple projects to get you started. You don’t need big equipment to begin with the wood printing process. Many easy techniques can create beautiful results with just a few supplies.
One great way to start is with the wood transfer method. You’ll need a laser print of your design, some gel medium, and a piece of smooth wood. Here’s how it works:
- Apply the gel medium to the wood surface.
- Press the laser print face-down onto the wood.
- Let it dry completely.
- Gently rub away the paper to reveal your transferred image.
This method is almost magical, as your design appears on the wood!
Another easy technique is using stencils and acrylic paint. This method lets you create sharp designs on wood. Just place the stencil on the wood and apply the paint with a brush or sponge for amazing results.
If you’re ready to spend a bit more, entry-level UV printers for small objects are getting cheaper. These printers make it easy to get professional-quality prints.
Now, let’s look at some creative ideas for personalizing:
- Personalize a cutting board with a family recipe.
- Create custom coasters with meaningful quotes.
- Make a wooden sign for your home with your favorite saying.
- Design unique gift tags for special occasions.
The key is to start simple and enjoy the handmade charm. Each project teaches you something new about ink and wood grain. This makes the wood printing process a fun journey of discovery.
| Project Type | Materials Needed | Skill Level |
|---|---|---|
| Wood Transfer | Laser print, gel medium, smooth wood | Beginner |
| Stencil Painting | Stencils, acrylic paint, brush | Beginner |
| Custom Coasters | Wood slices, paint, sealant | Intermediate |
Popular Uses of Wood and Plywood Printing
Wood and plywood printing is very versatile. It’s great for making your home look unique and for creating special gifts.
Home Decor Ideas
Wood and plywood printing is a cool alternative to regular wallpaper. Imagine a wall covered in a custom plywood design, like a forest or a pattern.
It’s also perfect for furniture. You can make drawer fronts, cabinet doors, or tables stand out with your own design. This makes your space look more personal and beautiful.
Custom Gifts and Memorabilia
Wood printing is amazing for gifts. You can make wedding invitations on thin wood or family photos on birch panels. These are great ways to keep memories alive.
Personalized recipe boards and plaques are also great gifts. Wood adds a warmth that paper or plastic can’t. Businesses use it for unique merchandise, signs, and packaging too.
| Application | Description | Benefits |
|---|---|---|
| Home Decor | Custom-printed plywood for walls and furniture | Unique aesthetic, personalization |
| Custom Gifts | Wedding invitations, family portraits | Emotional depth, memorable keepsakes |
| Branded Merchandise | Signage and packaging | Distinctive branding, eco-friendly options |
The possibilities with wood and plywood printing are endless. It’s perfect for making your home special or for creating gifts that mean a lot.
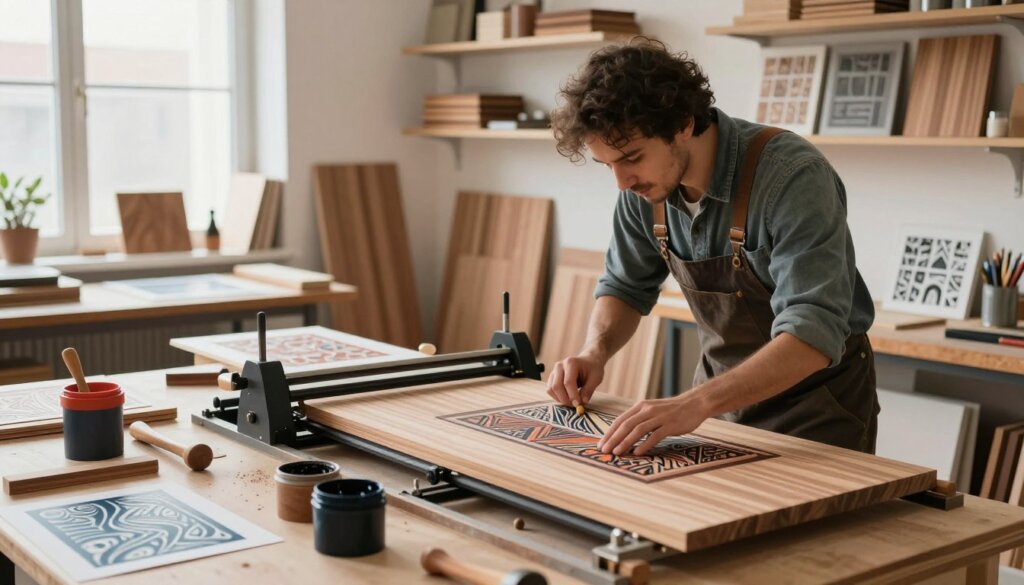
Trends in Wood and Plywood Printing
The world of wood and plywood printing is changing fast. New designs and tech breakthroughs are leading the charge. We’re seeing a mix of creativity and innovation, with unique patterns and advanced printing methods.
Today, many designs take inspiration from nature. Popular choices include:
- Realistic wood grain reproductions that mimic luxury hardwoods.
- Botanical illustrations that add a touch of nature to any space.
- Organic textures that enhance the tactile experience of wood prints.
- Minimalist line art and typography, often on light birch plywood, which is a favorite for modern interiors.
Technological advancements are also making a big impact. For example, UV LED digital printing lines now decorate laminated flooring and industrial wood materials like MDF and HDF. This tech allows for:
- Integration of digital printing into existing production lines.
- Use of UV LED inks that provide better adhesion and vibrant colors.
- Enhanced coating protection that increases durability.
- More efficient production processes that consume fewer resources.
As ink formulations keep improving, we’ll see wider color gamuts and better environmental profiles. This means more creative and personalized wood products will hit the market.
Conclusion: Embracing the Beauty of Wood Printing
Wooden and plywood printing combines nature and technology in a unique way. This guide has shown you the beauty and sustainability of wood printing. It’s now easier to create stunning designs without a lot of setup.
Quick prototyping and customization open up new business opportunities. They also encourage eco-friendly practices.
Thinking about trying wood printing? There are many techniques, like direct printing and laser engraving. Each one offers endless possibilities. Whether you’re a business looking to improve your products or someone wanting to make your space unique, wood printing is a great choice.
Begin with simple DIY projects to spark your creativity. Look for local artisans or find designs that inspire you. The beauty of wood printing is not just in the final product but in the creative journey itself.
Let the warmth of wood and the brightness of modern inks guide you. Explore the endless possibilities of this captivating craft.

